Crafting Your First Hand-Bound Journal: A Coptic Stitch Guide

Ever wondered how to create a beautiful, durable journal that lies perfectly flat no matter which page you open?
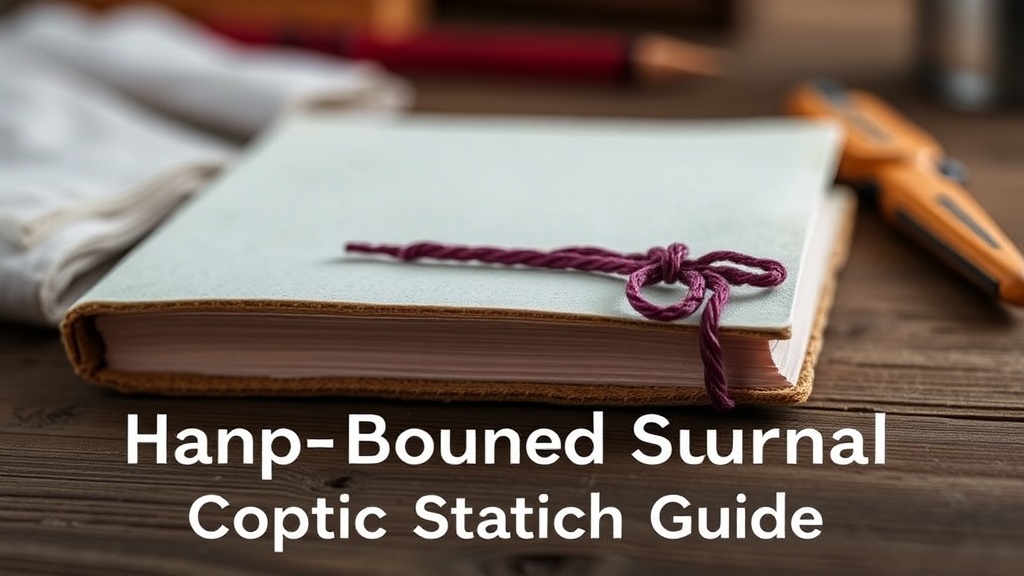
Many crafters dream of making their own books—something truly personalized, perhaps filled with sketches, notes, or creative writing. This guide demystifies Coptic stitch bookbinding, offering a clear, step-by-step approach to constructing your very first hand-bound journal. You don't need years of experience or a workshop full of specialized equipment to begin; just a few basic tools and a desire to learn this rewarding craft. By the end, you'll have a unique, lay-flat book and the confidence to explore further into the world of book arts. This ancient binding method—dating back to 2nd century Egypt—is celebrated for its exposed, decorative spine and, most importantly, its ability to open completely flat, making it ideal for sketching, writing, and displaying art.
What Materials and Tools Do You Need for Coptic Binding?
Gathering your supplies is key before you dive into the stitching. Most items are readily available at art supply stores, craft shops, or online retailers. Here’s what you’ll need:
- Paper for Pages: Approximately 80-100 sheets of 80-100gsm text weight paper. Acid-free paper is recommended for longevity.
- Cover Material: Two pieces of sturdy book board or heavy cardstock, slightly larger than your trimmed pages.
- Waxed Linen Thread: Strong, fray-resistant; choose a color that complements your project.
- Bookbinding Needle: A strong, blunt-tipped needle.
- Awl or Drill: For piercing precise holes in signatures and covers.
- Cutting Mat, Craft Knife & Metal Ruler: For accurate cutting.
- Bone Folder: Essential for crisp, professional folds.
- Pencil & Eraser: For marking measurements.
- Clamps or Bulldog Clips: To hold signatures and covers securely.
- Waste Paper: For protecting your work surface when piercing.
Having these items prepared helps keep your focus on the craft itself, leading to a professional-looking result.
How Do You Prepare Your Pages and Covers for Stitching?
With your supplies ready, the next step involves preparing the foundation of your book—the pages and covers. This stage requires precision; careful measurements and neat folds will lead to a much more satisfying final product. Don't rush this part; it's foundational.
1. Preparing Your Pages (Signatures)
Book pages are organized into "signatures"—folded sections of paper. For Coptic stitch, each signature uses 4-5 sheets folded in half.
- Cut Your Paper: Decide your finished page size. Cut each sheet to twice the final page width, plus its height (e.g., for a 5x7 inch page, cut paper to 10x7 inches).
- Fold Into Signatures: Align 4-5 sheets, fold in half, and use a bone folder for a crisp crease. Repeat for all signatures; aim for 10-12 for a decent journal.
- Mark Punching Holes: Stack signatures. On one (your template), mark 5-7 evenly spaced points along the spine—about ½ inch from top/bottom, with others distributed between.
- Punch the Holes: On a cutting mat, use an awl to pierce through all layers of each signature at the marks, using your template for alignment.
2. Preparing Your Covers
Your covers provide the structure and protection for your journal.
- Cut Your Board: Cut your book board or heavy cardstock to be slightly larger than your trimmed pages—perhaps an extra ⅛ to ¼ inch on all sides. This overlap helps protect the page edges.
- Mark Punching Holes: Use the exact same measurements you used for your signatures to mark holes on the spine edge of both covers. This alignment is vital.
- Punch the Holes: Carefully punch through your covers at these marked points. Book board can be tougher to pierce than paper, so take your time.
A well-prepared set of signatures and covers makes the stitching process so much more straightforward. You're building the framework for your unique journal.
What's the Secret to a Strong and Decorative Coptic Stitch?
The Coptic stitch itself is both functional and decorative, creating a visible chain-link pattern along the spine. This technique allows your book to open completely flat, a significant advantage for artists and writers. Patience and consistent tension are your best friends here. You’ll be working through a series of stations—the holes you’ve already punched—connecting your signatures to each other and to the covers.
Starting the Stitch (Cover to First Signature)
This initial step anchors your first signature to the back cover. Take a length of waxed linen thread—about 4-5 times the length of your book's spine. Thread your needle, leaving a tail of a few inches.
- Anchor to Back Cover: Bring your needle up through the innermost hole of your back cover (back to front). Leave a tail.
- Connect to First Signature: Take your first signature. Bring the needle into the corresponding hole on the inside of the signature, through all layers, and out the spine. Pull through, leaving a small loop outside—for tying off.
- Loop Around Cover: Pass the needle under the thread loop on the spine of the back cover (from your initial anchor).
- Back into Signature: Go back into the same signature hole, through all layers, and out the inside.
- Tie Off: On the inside, tie the working thread to the tail with a square knot. Trim.
Connecting Signatures
Now, connect the remaining signatures one by one. The principle is to link each new signature to the one below it and to the stitches already forming on the spine.
- Attach Second Signature: Place your second signature. Bring your needle into its first hole (from the inside), out the spine.
- Link to Previous Signature: Pass the needle under the visible thread link on the spine of the first signature that connects its first hole to the cover.
- Around the Link: Pass the needle back under the thread between the first signature and the cover, creating a loop.
- Into Current Signature: Go back into the same hole on the second signature, out the inside. Pull taut.
- Repeat for All Holes: Move to the next hole on the second signature. Bring your needle up from the inside, out the spine. Link it to the previous stitch (on the second signature) and the corresponding link on the first signature. This builds the Coptic chain. Continue for all holes in the second signature.
This linking process—passing the thread under the previous stitch on the spine—is the essence of the Coptic bind. Always ensure your tension is consistent; neither too tight, which can tear the paper, nor too loose, resulting in a flimsy binding. As you add more signatures, the chain on the spine will grow beautifully.