How to Transform Worn Clothing into Wearable Art with Visible Mending

What Is Visible Mending and Why Does It Matter?
Have you ever stared at a favorite pair of jeans with a tear in the knee—wondering whether to toss them or attempt a repair that ends up looking worse than the damage itself? Most of us have been there. Fast fashion culture taught us that damaged clothing belongs in the trash, but a growing movement of crafters and textile artists are proving otherwise. Visible mending isn't about hiding flaws—it's about celebrating them. This Japanese-inspired technique turns repairs into decorative features, giving worn garments new life while telling a story of care and creativity.
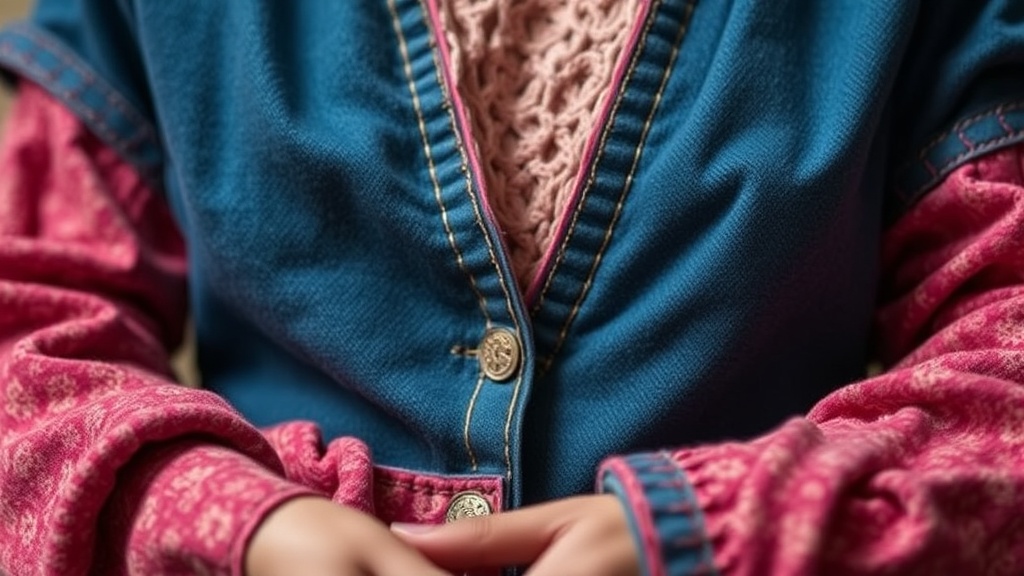
Unlike traditional darning or invisible patching, visible mending embraces contrast. You use bold thread colors, geometric patterns, and contrasting fabrics to draw attention to the repair rather than camouflage it. The result? Clothing that feels more personal, more unique, and often more beautiful than it was when new. For crafters who work with textiles, this practice opens up endless possibilities for experimentation—combining embroidery, patchwork, sashiko stitching, and appliqué into functional pieces you can actually wear.
What Supplies Do You Need to Start Visible Mending?
You don't need much to begin—another reason this craft has exploded in popularity. Here's what experienced menders keep in their kits:
- Embroidery floss or sashiko thread: Cotton embroidery floss works beautifully for decorative stitches. Sashiko thread (a bit thicker and more matte) creates that classic Japanese running-stitch look.
- Embroidery needles with large eyes: You'll be threading multiple strands, so larger eyes save frustration.
- Fabric scraps for patches: Linen, denim, canvas, and quilting cotton all work well. Choose something that contrasts or complements your garment.
- Embroidery hoop: Optional but helpful for keeping tension while you stitch.
- Fabric scissors and snips: Sharp tools make clean cuts—don't use your fabric scissors on paper.
- Thimble: Pushing needles through denim multiple times takes a toll on your fingertips.
Some menders also use interfacing or fusible web to stabilize patches before stitching, though purists often skip this step. The beauty of visible mending is that there are no strict rules—only techniques you can adapt to your style and the garment at hand.
How Do You Prepare a Garment for Visible Mending?
Preparation makes the difference between a repair that lasts and one that unravels after the first wash. Start by examining the damage closely. Is it a clean tear, a worn thin spot, or a frayed hole? Each requires a slightly different approach.
For holes, trim away any loose threads—but don't cut the fabric itself. You want clean edges to work with. For thin, worn areas (like inner thighs on jeans or elbows on sweaters), reinforce the weak fabric before it becomes a hole. Place your patch fabric behind the damaged area, pin it in place, and baste around the perimeter with loose running stitches. This holds everything steady while you work your decorative magic on top.
Wash your garment first. Sounds obvious, but fresh repairs on dirty fabric lock in odors and stains. Plus, pre-shrinking prevents puckering later. Once clean and dry, press the area flat with an iron. Working on wrinkled fabric distorts your stitches and makes the finished repair look sloppy.
What Are the Best Stitches for Visible Mending?
You can get stunning results with just three basic stitches. Master these, and you'll have a foundation for endless creative variations.
Running stitch (sashiko style): This is the bread and butter of visible mending. Work from right to left (if you're right-handed), loading multiple stitches onto your needle before pulling through. Keep stitches and spaces roughly equal—traditionally about 3/8 inch each, though you can go smaller for finer details. The running stitch reinforces fabric beautifully and creates graphic geometric patterns when layered.
Backstitch: When you need strength—around patch edges or high-stress areas—backstitch delivers. Each stitch overlaps the previous one, creating a solid line. It looks almost like machine stitching but with that handmade character that makes visible mending special.
Whipstitch/blanket stitch: Use this to attach patches decoratively. The looping edge creates a border effect, almost like a frame around your repair. Experiment with spacing—tight whipstitches look neat and controlled; loose, uneven ones feel more organic and rustic.
Layer these stitches. Run parallel lines of sashiko across a knee patch. Outline the patch with blanket stitch. Add French knots or seed stitches for texture. The more you experiment, the more you'll develop a signature style.
How Can You Design Repairs That Look Intentional?
The difference between visible mending that looks like art versus a desperate fix comes down to intentionality in your design choices. Think about composition the same way you would with any art project.
Color theory matters. Complementary colors (blue and orange, red and green) create vibrancy and draw the eye. Analogous colors (neighbors on the color wheel) feel harmonious and subtle. Don't default to matching thread—contrast is your friend here.
Consider the garment's existing lines. If you're mending jeans, echo the horizontal topstitching with parallel rows of sashiko. On a shirt, follow the grain of the fabric or work perpendicular to seams for visual tension. Organic, flowing shapes soften structured garments; geometric patterns add structure to flowy pieces.
Scale appropriately. A tiny, delicate repair on oversized workwear gets lost. A massive, bold patch on a fitted blouse overwhelms. Match your design's visual weight to the garment's proportions and the damage's location.
Look at examples from the Victoria and Albert Museum's boro collection—these patched indigo textiles from rural Japan represent centuries of visible mending tradition. The layered fabrics and running stitches weren't aesthetic choices initially; they were born from necessity. Yet the results possess a quiet beauty that contemporary designers still reference today.
How Do You Care for Garments After Visible Mending?
Your repairs will last longer with proper care. Turn garments inside out before washing to protect the decorative stitches from friction. Use cold water and gentle cycles—agitation stresses both the original fabric and your mending work.
Air drying preserves elasticity and prevents shrinkage that can strain stitches. If you must use a dryer, low heat is non-negotiable. High temperatures weaken thread fibers over time.
Inspect your repairs periodically. Catching a loose thread early means a two-minute fix rather than redoing the whole patch. Think of your mended garments as living pieces—they'll evolve with wear, and that's part of their charm. Each wash softens the threads; each wear adds character. The American Folk Art Museum has documented how repaired textiles often become family heirlooms precisely because of the care visible in their mending.
Start small. Practice on scrap fabric first, then tackle a damaged tea towel or old t-shirt before working on beloved clothing. Your first attempts won't be perfect—and they shouldn't be. Visible mending celebrates imperfection, process, and the marks of use that make objects meaningful. That worn denim jacket with the colorful knee patch? It's not broken anymore. It's become something better—something that carries your story.