Selecting High-Quality Natural Pigments for Your Art

Why Natural Color Matters in Modern Craft
A single gram of certain historical pigments once cost more than its weight in gold—a fact that highlights the intense value placed on color throughout history. Today, the shift back toward organic, earth-derived colors isn't just a trend; it's a way to connect more deeply with the physical world. This post covers the nuances of sourcing, testing, and using pigments derived from minerals, plants, and insects to create art that feels grounded and authentic.
Using synthetic dyes is easy, but natural pigments offer a textural quality that lab-made colors simply can't mimic. When you work with earth, you aren't just applying color; you're applying a piece of the environment. This matters because the longevity and behavior of these pigments are vastly different from the standardized options found in big-box craft stores. Understanding these differences helps you avoid common pitfalls like premature fading or unexpected color shifts during the drying process.
What are the best sources for artist pigments?
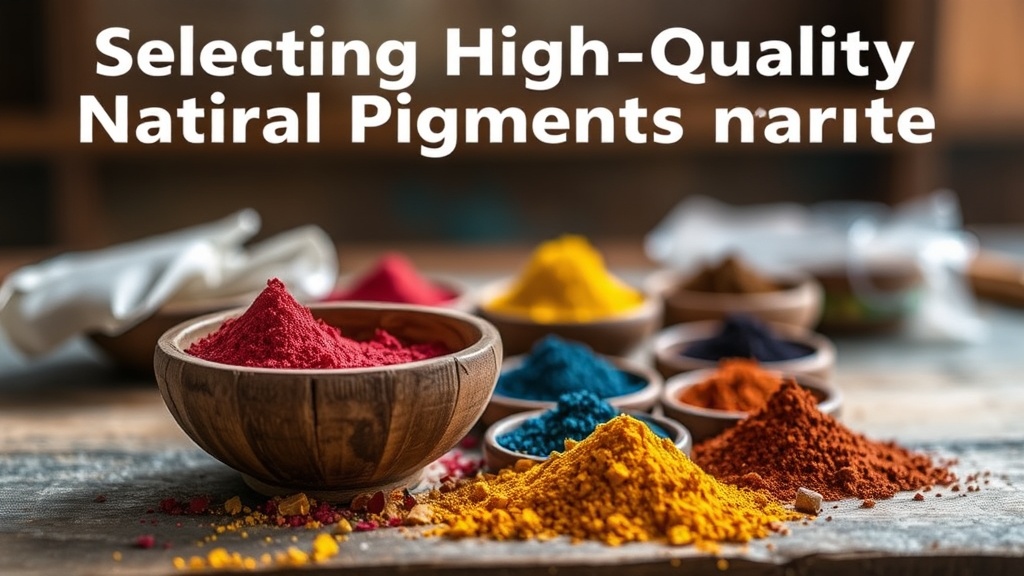
Finding high-quality materials requires looking beyond the standard art supply aisle. Most serious creators look toward three specific areas: the earth, the garden, and the pantry. Minerals like ochre, sienna, and umber provide a heavy, opaque base that works beautifully for heavy-body acrylics or pottery glazes. These are stable, predictable, and have been used for millennia.
Plants offer a more delicate range, though they require more care. For instance, indigo provides a deep, soulful blue that is nearly impossible to replicate with synthetic versions. If you're working in textiles or watercolor, look for sources like madder root for reds or turmeric for bright yellows. However, keep in mind that plant-based colors are often sensitive to pH levels—one slight change in your water or binder can turn a soft pink into a dull grey (which can be frustrating if you aren't prepared). For those interested in the deep history of color, the Britannica entry on pigments offers a wonderful look at how these materials evolved.
- Mineral Sources: Clays, earth oxides, and ground stones.
- Botanical Sources: Roots, berries, leaves, and bark.
- Insect Sources: Cochineal or lac (often used for vibrant, deep reds).
How do you test pigment stability?
One of the biggest mistakes people make is assuming a color will look the same on the paper as it does in the jar. This is especially true with organic dyes. Before you commit to a large-scale project, you must run a series of tests. I suggest creating a small swatch book—a collection of small, labeled samples—to track how your colors behave over time and under different conditions.
A good test involves three specific steps. First, test the pigment with different binders (like gum arabic for watercolor or linseed oil for oil painting). Second, test it under different lighting. A color that looks vibrant under warm indoor light might look completely different under natural sunlight. Third, and perhaps most importantly, check for lightfastness. Some natural colors are highly fugitive, meaning they fade quickly when exposed to UV rays. You can research specific pigment lightfastness through resources like The Color of Pigment to ensure your work lasts.
| Pigment Type | Typical Use | Durability Level |
|---|---|---|
| Ochre/Earth | Heavy Textures, Pottery | High |
| Plant-Based | Watercolors, Textiles | Moderate to Low |
| Mineral Salts | Ink, Specialized Paints | Variable |
Which binders work best for homemade pigments?
The binder is the "glue" that holds your pigment to your surface. If you choose the wrong one, your pigment might flake off or never dry properly. For a water-based approach, gum arabic is the standard for watercolors. It's a natural resin that provides a beautiful, transparent finish. If you're making a heavier paint, a simple flour-and-water paste (often called a size) can work for certain experimental textures, though it isn't suitable for professional-grade art.
For those working in more traditional media, egg tempera—using egg yolk as a binder—is a classic technique. It creates a very durable, matte finish that has been used by Renaissance masters. The key is to match the viscosity of your binder to the grind of your pigment. A fine, powder-like pigment needs a thinner binder, while a coarser, grittier earth pigment can handle a thicker, more substantial medium. This balance determines how much texture you can achieve in your final piece.
Common Pitfalls to Avoid
Don't assume that "natural" always means "permanent." A common mistake is using bright fruit juices or vegetable scraps, thinking they will create a lasting color. While these are great for one-off experiments, they are highly unstable and will often turn brown or disappear entirely within a few weeks. If you want your art to survive longer than a single season, stick to stable minerals or professionally processed botanical dyes.
Another issue is the grind. If your pigment particles are too large, the binder won't be able to encapsulate them effectively, leading to a crumbly texture. Always sift your dry pigments through a fine mesh or a silk screen before mixing them with your binder. This ensures a smooth application and prevents the dreaded "clumping" that can ruin a smooth wash or a delicate glaze. If you find your paint is too thick, don't just add water—try adding a drop of a surfactant or a tiny amount of liquid soap to help it flow more smoothly across the surface.