Upcycle Glass Jars into Chic Bathroom Storage Containers

Upcycling glass jars into bathroom storage containers transforms cluttered countertops into organized, aesthetically pleasing spaces without spending a fortune on boutique organizers. This guide covers everything from selecting the right jar types and preparing surfaces properly to painting techniques, labeling methods, and styling tips that create cohesive, Instagram-worthy bathroom storage. Whether dealing with a tiny powder room or a spacious master bath, these techniques work for any space—and most projects cost under $20 in supplies.
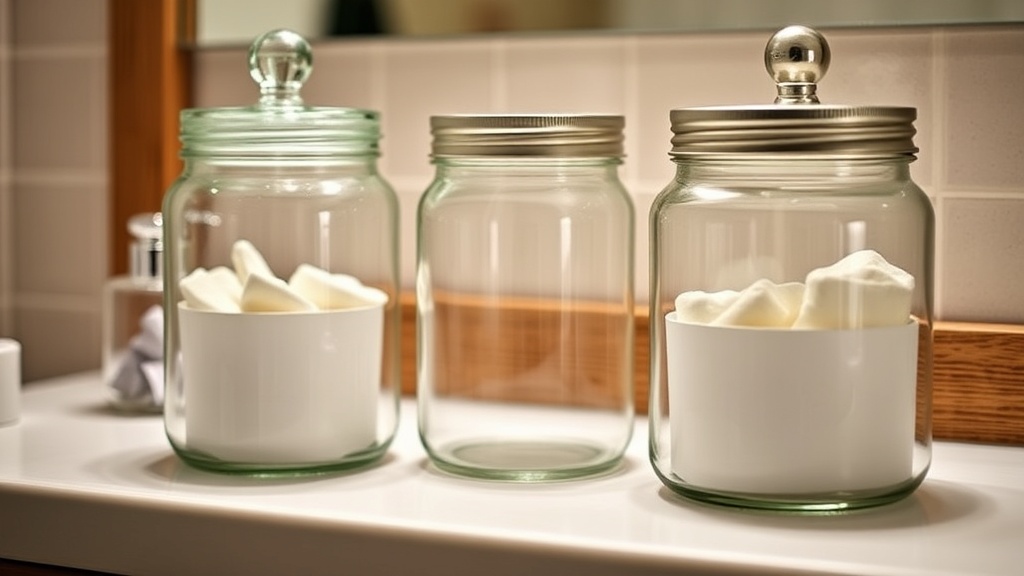
What types of glass jars work best for bathroom storage?
Mason jars remain the gold standard for bathroom upcycling projects, but they're far from the only option. The best jar choice depends on what you're storing and the visual style you're after.
Mason jars (Ball, Kerr, or Bernardin brands) offer consistency—same dimensions, reliable lids, and widely available replacement parts. The wide-mouth quart jars handle cotton balls and bath bombs beautifully. Regular-mouth pints work for Q-tips, hair ties, and smaller items. These run about $12-15 per dozen at Canadian Tire or hardware stores.
Repurposed food jars—think pasta sauce, pickle jars, or olive containers—bring variety without costing extra. Bonne Maman jam jars have that charming French-country look with their embossed glass and gingham lids. Classico pasta sauce jars mimic Mason jar styling. Oui by Yoplait yogurt pots feature adorable small sizes perfect for bobby pins or travel-sized products.
For a modern aesthetic, consider apothecary-style containers. Old candle jars (Bath & Body Works, Yankee Candle) clean up beautifully—the heavy glass feels substantial. IKEA's KORKEN jars with cork stoppers cost $2-4 each and suit Scandinavian-minimalist bathrooms perfectly.
Here's how common options compare:
| Jar Type | Best For | Lid Style | Price Range |
|---|---|---|---|
| Ball Mason (wide-mouth) | Cotton balls, bath bombs, brushes | Metal screw-band | $1-2 each |
| Bonne Maman jars | Cotton rounds, soaps, decorative storage | Metal hinged | Free (repurposed) |
| IKEA KORKEN | Salts, small accessories | Cork stopper | $2-4 |
| Repurposed candle jars | Vanity display, cotton swabs | Metal or none | Free (cleaned) |
| Classico sauce jars | Matches Mason jar accessories | Metal screw | Free (repurposed) |
Avoid jars with embossed logos unless you plan to paint over them—the raised text rarely looks intentional in finished projects. Also skip any containers that held strongly scented items (pickles, garlic sauces) unless you enjoy your cotton balls smelling faintly of dill.
How do you prepare glass jars for painting and decorating?
Proper prep separates professional-looking upcycles from obvious DIY projects. Glass is non-porous and slick—paint and adhesive struggle to bond without the right foundation.
Start with degreasing. Even brand-new jars carry manufacturing oils and fingerprints. Wash everything in hot soapy water (Dawn dish soap works perfectly), then wipe down with rubbing alcohol or white vinegar. This step takes two minutes and prevents the peeling and chipping that ruins projects within weeks.
Remove labels completely. That paper residue won't disappear with water alone. Soak jars in warm water with a splash of dish soap for 20-30 minutes. Most labels slide right off. Stubborn adhesive responds to Goo Gone or a paste of baking soda and cooking oil. Scrape carefully with a plastic scraper—metal scratches glass.
Roughen the surface for paint adhesion. Fine-grit sandpaper (220-grit) creates microscopic scratches that help paint grip. Lightly scuff the exterior—don't go crazy, you're not refinishing furniture. Wipe away dust with a tack cloth or microfiber towel.
For jars that will hold bathroom products (cotton balls, etc.), sterilize the interiors. A diluted bleach solution (one tablespoon per gallon of water) or a run through the dishwasher's sanitize cycle ensures your storage stays hygienic.
The catch? Some decorators skip the sanding step—and their paint chips within months. Worth noting: if you're going for a distressed, shabby-chic look anyway, imperfect prep actually helps the aesthetic. For clean, modern finishes though, that extra five minutes of sanding makes all the difference.
What are the best painting techniques for glass jar storage?
Glass demands specific paint formulations. Regular acrylic or latex paint flakes right off smooth surfaces—sometimes within days.
Chalk paint (Annie Sloan, Rust-Oleum Chalked) adheres beautifully without primer. It dries to a matte, velvety finish that suits farmhouse and cottage bathrooms. Two coats provide full coverage. Seal with clear wax or polyurethane if the jars will handle frequent handling—unsealed chalk paint marks easily.
Multi-surface acrylics (Martha Stewart Crafts, DecoArt Americana Multi-Surface) bond chemically with glass. They're more durable than standard craft paint and come in hundreds of colors. Apply thin coats—thick paint pools and drips on vertical surfaces.
Spray paint designed for glass and metal (Rust-Oleum Specialty, Krylon Fusion) creates smooth, even finishes impossible to achieve with brushes. Work outdoors or in ventilated spaces. Light, multiple coats prevent the drips that plague beginners. Matte and satin sheens look more expensive than high-gloss in bathroom settings.
For something different, try these techniques:
- Ombré dip-dye: Fill a container with diluted paint, dip the jar to varying depths, and pull out slowly. Creates gradient color effects.
- Faux mercury glass: Spray metallic silver or gold paint inside the jar, then lightly mist with water and vinegar solution before it dries. Dab with paper towel for that aged, speckled antique mirror look.
- Paint-drip art: Turn the jar upside down and pour paint over the exterior—let gravity create organic drips and runs. Completely unique every time.
- Stenciled patterns: Use adhesive stencils (Silhouette makes excellent ones) with glass paint for geometric or floral motifs.
Always let painted jars cure fully—usually 24-48 hours—before using them. Paint feels dry to the touch in hours but remains soft underneath for days. Premature handling leaves fingerprints and mars the finish permanently.
How do you label upcycled jars for bathroom organization?
Unlabeled jars look pretty until you're fumbling for cotton balls at 6 AM and grab dental floss instead. Labels add function without sacrificing style.
Etched glass creates permanent, elegant labeling. Armour Etch cream (available at Michaels or Amazon) eats into glass surface for frosted, professional results. Apply vinyl stencils, brush on cream, wait five minutes, rinse. The result looks like expensive hotel amenities—because it essentially is.
Vinyl decals offer flexibility. A basic Cricut Joy machine ($179 at Best Buy) cuts custom labels from permanent vinyl. Change your mind next year? Peel off and replace. Black or white vinyl pops against painted jars; metallic gold or silver feels luxe.
Hang tags work beautifully for jars with handles (Mason jar mugs) or hung storage. Stamp metal tags from the Dollar Store with letter punches, or print waterproof labels on cardstock and laminate. Tie with twine, ribbon, or leather cord depending on your bathroom's vibe.
Here's the thing about handwriting: unless your penmanship is genuinely excellent, skip the Sharpie. It reads "craft project" rather than "curated storage." If you must write directly on jars, paint pens (Posca, Sharpie Paint) look more intentional than regular markers.
That said, some aesthetics embrace the hand-lettered look. A white gel pen on dark-painted jars creates charming apothecary-style labels. Practice first on paper—your "Cotton Balls" label is semi-permanent once applied.
Styling your finished storage containers
Individual jars look fine. Grouped intentionally, they transform your bathroom.
Create height variation. Use upturned wooden bowls, small crates, or stacked books as risers. A tall quart jar on a 4-inch platform draws the eye upward, making ceilings feel higher.
Stick to a limited color palette. Three coordinating colors maximum—maybe white, sage green, and natural wood. Too many competing hues create visual chaos. If your jars ended up different colors, unify them with matching labels or consistent lid treatments.
Add natural elements. A small wooden tray (IKEA's FRYKEN baskets work perfectly) corrals jars and adds warmth. Eucalyptus stems or dried lavender tucked between containers soften the utilitarian look. Even a single marble coaster beneath a soap-dispensing jar improves the presentation.
Consider your storage strategy too. Daily-use items (cotton rounds, Q-tips) belong at counter height or in open shelving. Backup supplies—extra toothbrush heads, backup shampoo—can live in labeled jars inside cabinets or linen closets.
"The best organizing solutions are the ones you'll actually maintain. Pretty jars that are annoying to open or hard to reach collect dust instead of daily use."
Group related items together: dental care in one cluster, skincare in another, hair accessories in their own zone. This logical organization—called "zoning" by professional organizers—means you find what you need without thinking.
For small bathrooms, exploit vertical space. Wall-mounted Mason jar holders (available on Etsy or DIY with pipe clamps) keep counters clear. Magnetic strips glued to jar lids allow under-shelf storage—screw the jar up into the cabinet base. Suddenly your bathroom feels twice as spacious.
Cost-wise, a complete upcycled storage system runs $15-40 depending on how many jars you salvage versus buy new. Compare that to $80-150 for equivalent ready-made bathroom organizers at HomeSense or The Container Store. The savings buy awfully nice hand soap.
Your bathroom deserves storage that's both functional and beautiful. These upcycled glass jar solutions deliver both—plus the satisfaction of creating something unique from items headed for recycling. Grab a few jars, some paint, and an afternoon. Your countertop will thank you.