Why Do Ceramic Pieces Crack During Firing—And Can You Fix Them?

Most crafters assume cracks appear because they did something wrong during the forming stage. That's not the whole story. Ceramic failures often stem from misunderstood drying dynamics, incompatible clay bodies, or temperature shock—not clumsy hands. This listicle breaks down seven common reasons ceramic pieces crack during firing, paired with practical solutions you can apply immediately. Whether you're wedging clay at a kitchen table or running a small studio, these insights will save you materials, time, and frustration.
What Causes Clay to Crack Before It Ever Reaches the Kiln?
Greenware cracks are maddening. You've spent hours on a piece, only to find hairline fractures before bisque firing even begins. The culprit? Usually uneven moisture distribution. Clay shrinks as it dries—different sections at different rates create internal stress. Thick bases dry slower than thin walls. Handles pull away from mugs. Sculptural elements warp and split.
The fix isn't complicated, but it requires patience. Cover your work loosely with plastic sheeting, creating a microclimate that slows surface drying. Flip pieces regularly (every few hours for thin-walled work, daily for thicker forms) to promote even evaporation. Some potters use damp boxes—plastic storage containers with moistened plaster shelves—to extend working time and control drying over days rather than hours.
Another overlooked factor: clay memory. Bent, twisted, or unevenly compressed clay retains internal stress. When heated, those tensions release—sometimes violently. Always wedge thoroughly to align particles and eliminate air pockets. The spiral wedging technique, demonstrated extensively by ceramicists like Ceramic Arts Network, distributes moisture and compresses the clay body uniformly. Skip this step at your peril.
Is Your Clay Body Mismatched to Your Project?
Not all clay behaves the same way during firing—and many cracks stem from choosing the wrong body for your form. High-plasticity clays (like those with abundant bentonite) shrink dramatically. They're wonderful for detailed hand-building but risky for large sculptural work. Porcelain demands slow, controlled firing schedules that many beginners rush through.
Grog additions change everything. These fired clay particles reduce shrinkage and improve thermal shock resistance. Sculptural clay bodies often contain 10-20% grog, making them more forgiving during both drying and firing. If your thin porcelain bowls consistently crack, switching to a porcelain-like stoneware with fine grog might solve the problem without sacrificing the surface quality you want.
Also consider clay age. Fresh from the bag, clay is often too wet and plastic. Aging—storing wedged clay in plastic for weeks or months—improves workability through bacterial action and moisture equalization. Ancient civilizations buried clay before use. You don't need a hole in the ground, but you do need time.
How Does Thermal Shock Destroy Hours of Work?
Temperature changes cause ceramic bodies to expand and contract. Different materials in the same piece—say, a porcelain slip decoration on a stoneware body—move at different rates. When the stress exceeds the clay's strength, cracks form. This is thermal shock, and it's responsible for countless "mystery" cracks that appear during bisque or glaze firing.
The mathematics is unforgiving. Quartz inversion happens around 573°C (1063°F)—silica in clay suddenly expands by about 2%. If your kiln climbs too quickly through this range, especially during cooling, internal stresses build. Crystobalite inversion at 226°C (439°F) creates similar risks. Experienced potters program holds at these temperatures, allowing the entire piece to equalize before continuing.
Thick sculptural work faces heightened danger. The exterior and interior heat at different rates, creating differential expansion. Potterycrafts recommends firing schedules with extended ramps—no more than 100°C per hour for thick-walled pieces—and controlled cooling that extends over 12-24 hours for large forms. Fast cooling through quartz inversion is asking for cracks.
Are You Making These Handling Mistakes?
Sometimes the crack originates long before firing—in how you touch, move, or store your work. Leather-hard pieces seem sturdy but remain fragile. Picking up a plate by its rim (rather than supporting the entire base) flexes the body enough to initiate micro-cracks. These may not appear until glaze firing, when thermal stress completes the damage you started.
Storage matters enormously. Stacking greenware—especially when pieces aren't perfectly dry—traps moisture unevenly. The contact points dry slower, creating stress concentrations. Worse, stacking bisqueware before glazing can cause "dunting" cracks if pieces touch during the heating cycle. Leave space between every piece, on every shelf.
Consider your drying environment's seasonal changes. Winter heating dries air aggressively; summer humidity slows everything down. A piece that dried perfectly in October might crack in January using identical techniques. Adjust your plastic coverage, flipping schedule, and drying time accordingly. There's no universal timeline—only observation and adaptation.
Why Do Glaze Defects Sometimes Look Like Cracks?
Crazing—that spiderweb of fine cracks across a glazed surface—isn't structural damage to the clay body, but it's equally problematic. Crazing occurs when glaze and clay body have mismatched thermal expansion coefficients. The glaze shrinks more than the clay during cooling, tension builds, and the glaze cracks to relieve stress.
While crazed ware might look interesting, it's functionally compromised. Those cracks harbor bacteria, making crazed dishes unsuitable for food. The cracks can deepen over time, especially with thermal cycling (freezer to oven to dishwasher). Some collectors prize intentional crazing in decorative work, but for functional pottery, it's a defect.
Fixing crazing requires adjusting your glaze chemistry. Adding silica reduces glaze expansion; adding fluxes (like sodium or potassium) increases it. Digitalfire maintains extensive databases of glaze recipes and material properties, helping you calculate thermal expansion and compatibility. Sometimes switching to a different clay body solves the problem more easily than reformulating glazes.
Can Cracked Pieces Be Salvaged—or Should You Start Over?
Not every crack means starting from scratch. Greenware cracks can sometimes be repaired using slip—the same clay body mixed to yogurt consistency with water. Score the crack edges, apply slip, compress with a rubber rib, and allow extended drying. The repair line will always be visible after firing, making this technique best for sculptural work or textured surfaces where blending is possible.
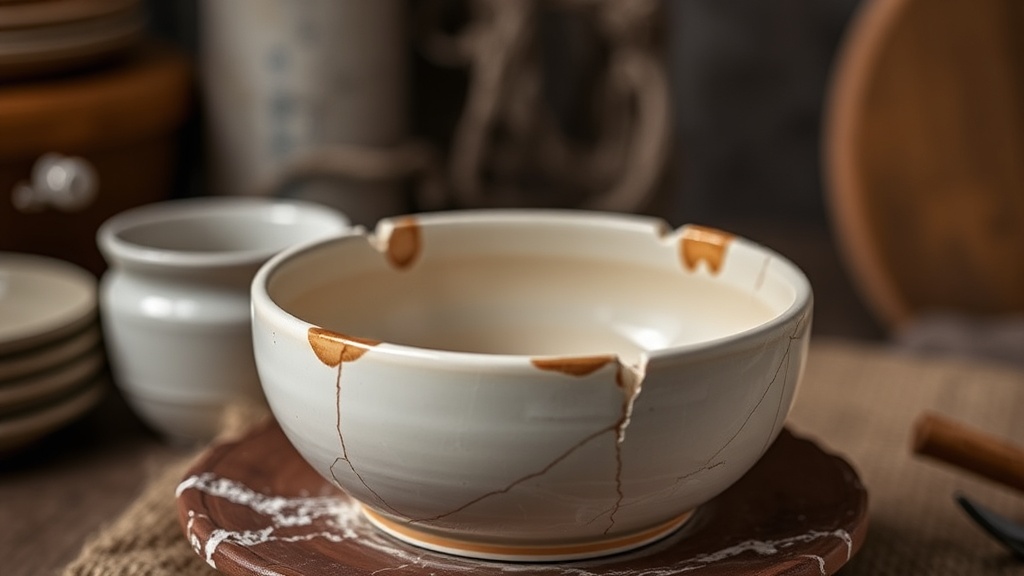
Bisqueware repairs are trickier but possible. Epoxies designed for ceramic repair (like PC-7 or PC-11) create strong bonds for non-functional decorative pieces. For functional ware, some potters use gold kintsugi techniques—embracing the break as part of the object's history rather than hiding it. This Japanese repair tradition uses lacquer and metallic powder to create visible, beautiful seams.
However, some cracks signal deeper problems. Thermal shock cracks that penetrate the entire body usually indicate the piece experienced extreme stress—attempting repair risks continued deterioration. Similarly, cracks from clay body incompatibility (like adding wet clay to leather-hard sections) rarely stay sealed through firing's thermal cycling. Know when to learn from the failure and reclaim the clay instead.
How Can You Design Forms That Resist Cracking?
The most reliable way to prevent cracks is building crack-resistant forms from the start. Uniform wall thickness reduces differential shrinkage stress—avoid thick bases with thin walls. When thickness variation is unavoidable (like adding feet to a bowl), score and slip thoroughly, then compress the joint aggressively with a rib or wooden tool.
Structural elements need support. Handles should attach at points reinforced by the vessel's curve. Vertical attachments (like sculptural elements on pottery) benefit from internal armature or strategic placement where the form naturally strengthens. Large flat surfaces—plates, tiles, sculptural panels—are inherently risky; adding curvature, texture, or scored lines that act as controlled stress-release points improves survival rates.
Drying boards and ware boards deserve attention too. Wood absorbs moisture unevenly; plastic, plaster, or cement boards provide more consistent drying surfaces. For very large or sensitive pieces, some ceramicists dry work on porous insulation foam, which cushions the piece and allows air circulation from below. Small details—how you support your work during its most vulnerable stages—accumulate into significant quality differences.
Cracking isn't a mystery to solve once and forget. Each clay body, each form, each season presents new variables. The potters who produce consistently crack-free work aren't following a single formula—they're observing, adjusting, and building deep familiarity with their materials. Your next cracked piece is information. Note when it appeared, what preceded it, and what you might change. That attention—patient, methodical, unromantic—is what separates reliable craft from frustrating guesswork.